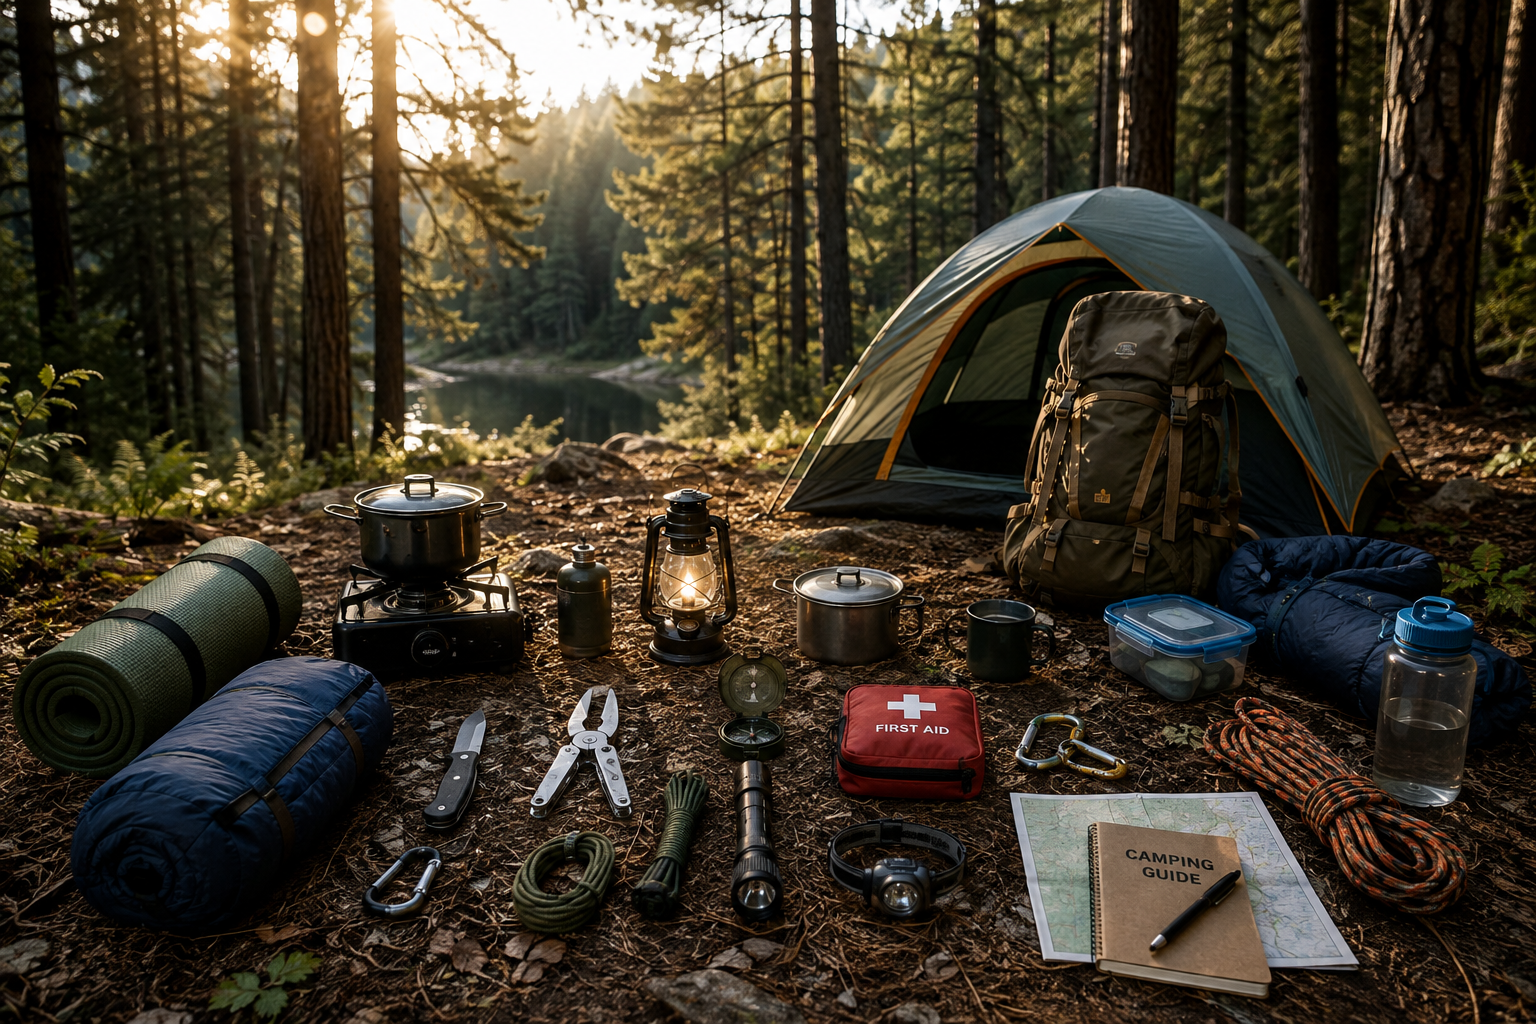

A bikepacking camping checklist needs to cover two systems: the equipment that keeps your bicycle moving and the gear that keeps you comfortable overnight. Snowy mountains, forest trails, desert valleys and tropical beaches demand different choices. This guide explains the shared essentials and the additions for nine environments.
Use the base list first, then adapt it to the route, forecast, overnight temperature, water availability and distance from assistance. Touring with panniers and riding with bikepacking bags use different luggage arrangements, but both require reliable attachment and a realistic load.
Affiliate disclosure: As an Amazon Associate, 1WAYCAMPING earns from qualifying purchases. Linked product reviews may contain affiliate links.
Scope: This is a general planning guide. Technical alpine routes, avalanche terrain and remote Arctic expeditions need destination-specific expertise. Product links are comparison starting points, not certifications of suitability for extreme conditions.
Your Core Bikepacking Camping Checklist
Bicycle, Luggage and Visibility
- A serviced bicycle suited to the route and total load.
- Compatible tires with tread and dimensions appropriate for the surface.
- A helmet and front and rear lights with reserve power.
- Reflective details for visibility.
- Compatible racks and panniers, or securely fitted frame, handlebar and seat bags.
- Dry bags for sleep gear, clothing and electronics.
- Spare attachment straps and compatible water-bottle supports.
- A lock appropriate for planned stops, and optional fenders.
Test the bicycle fully loaded before departure. Bags must not interfere with wheels, brakes, cables or pedaling. Stay within the bicycle and luggage manufacturers’ load limits.
Our KEMIMOTO 34L pannier review offers a luggage comparison. Check rack compatibility, heel clearance, load limits and weather protection for your setup. For navigation storage, see the Lamicall bike frame bag review; verify phone fit and access rather than assuming every bag suits every bicycle.
Repair Tools and Compatible Spares
- A multitool with the sizes your bicycle uses.
- A pump compatible with your valves, tire levers and spare tubes.
- Tube patches and a tire boot for suitable emergency casing repairs.
- For tubeless systems: plugs, insertion tool and appropriate sealant.
- A chain tool and quick links compatible with your chain.
- Lubricant, a small cleaning cloth, zip ties and repair tape.
- Spare rack or mount bolts where relevant.
- For longer remote trips: suitable brake pads and a model-specific derailleur hanger.
- Additional cables, spokes or a spare tire where justified by the route and your repair skills.
Practice fixing a puncture and using your chain tools at home. A spare part is useful only when it fits and you know how to install it. Even a tubeless setup can benefit from a compatible tube as backup.
Shelter and Sleep System
- A compact tent suitable for expected wind, rain and snow.
- Poles, stakes, guy lines and shelter repairs.
- A ground protector if appropriate.
- A sleeping bag with a comfort rating matched to the expected low.
- A sleeping pad with adequate insulation and its repair kit.
- A small pillow or clothing-filled bag.
- An emergency shelter for an unplanned stop.
Compare our Night Cat backpacking tent review, QEZER sleeping bag review and Oramoose sleeping pad review. Confirm packed dimensions, weight and relevant ratings. A thick pad is not automatically warm enough for winter.
Cycling Clothing and Camp Layers
- Comfortable riding clothing and padded cycling shorts if preferred.
- A moisture-managing shirt, socks and underwear.
- An insulating layer for rest stops and camp.
- A rain jacket and rain pants when needed.
- Cycling gloves and additional cold-weather hand protection as required.
- Footwear compatible with your pedals and suitable for walking beside the bicycle.
- Dry sleep clothing and spare socks.
- Sun protection compatible with your helmet, plus a warm hat for camp.
Our CQR quick-dry pants review and BALEAF women’s hiking pants review provide outdoor clothing comparisons. Check seams, movement and clearance around the drivetrain before using loose clothing for riding. Hiking boots also need compatibility checks if you use clipless pedals.
Water, Food and Cooking
- Water capacity for confirmed gaps between sources, plus a reserve.
- Treatment appropriate for the source and likely contaminants, with a backup.
- Food for planned stages, accessible snacks and extra supplies for delays.
- Food storage meeting local wildlife requirements.
- If cooking: a stove, compatible fuel, pot, spoon and ignition backup.
Compare the LifeStraw filter review and GRAYL GeoPress purifier review. Verify treatment capabilities and limitations. Ordinary hiking filters do not desalinate seawater, and no treatment device solves the absence of a source. Never use a stove inside a tent or enclosed shelter.
Navigation, First Aid and Daily Essentials
- A route map, compass and offline navigation on a phone or GPS.
- A secure navigation mount, power bank and cables.
- A headlamp for camp and repairs, with reserve power.
- A satellite communicator or locator beacon for remote travel.
- A whistle and a shared itinerary with an expected return time.
- A trip-specific first aid kit, personal medication and supplies for blisters and chafing.
- Sunscreen, lip protection and repellent where needed.
- Dental and personal hygiene supplies, including menstrual products if applicable.
- Waste bags and the locally required sanitation method.
- Identification, permits, money and emergency contacts.
See our Ascher bike light review and LHKNL headlamp review. Check visibility, runtime and charging needs. A camping headlamp serves a different role from properly positioned bicycle lights.
1. Bikepacking Camping Checklist for a Snowy Valley
Add a winter sleep system, cold-weather clothing and a bicycle setup suited to the actual snow surface. Deep snow can turn a riding stage into a long push.
- Winter-ready shelter, snow anchors and a shovel.
- A cold-rated sleeping bag and high-insulation pad system.
- A foam pad as additional insulation and backup where appropriate.
- Thermal layers, resting insulation, warm gloves and dry spares.
- Cold-appropriate footwear, gaiters if needed and face protection.
- Snow glasses or goggles.
- Suitable tires; studded options for ice where compatible.
- Wide tires or a fat bike only where the route justifies them.
- Freeze-protected water storage, a cold-capable stove and extra fuel if melting snow.
- Protection for batteries against cold.
Confirm tire clearance with your bicycle’s specifications. Winter footwear and pedals must work together. Flat terrain can still lie within an avalanche runout, so assess the slopes above the campsite.
2. Bike Camping in Snowy Mountains
Use the snowy-valley list and increase preparation for wind, exposure and poor visibility. A bicycle does not make a technical alpine route rideable.
- A shelter and anchors suited to anticipated mountain weather.
- Storm goggles, face protection and dependable navigation.
- Satellite communication and a retreat plan.
- For avalanche terrain: a transceiver, metal shovel and probe for each person, plus trained companions and practiced rescue skills.
- Technical snow equipment only when required by the route, with appropriate training.
- A plan for pushing, carrying or recovering the bicycle if riding becomes impossible.
Check current avalanche forecasts and route conditions. Rescue equipment does not replace avoiding dangerous terrain. Glacier travel and exposed icy slopes require specialized expertise beyond a general bicycle camping checklist.
3. Forest Valley Bikepacking
Prepare for mud, rain, insects and keeping both camp gear and the bicycle functional.
- Tires suitable for roots, dirt and expected mud.
- Optional fenders with safe wheel clearance.
- A tent with insect mesh and a complete rainfly.
- Waterproof luggage protection and spare dry socks.
- Repellent, long clothing and a head net where useful.
- Wildlife-safe food storage, including an approved bear-resistant container where required.
- A cloth and appropriate supplies for basic drivetrain care.
Confirm that the route permits bicycles. Select a legal campsite away from flood-prone ground and unstable overhead branches. Follow local food and scented-item storage instructions.
4. Forest Mountain Bikepacking
Add attention to gradients, braking and the possibility of walking beside the bicycle.
- Gearing suitable for climbing with the planned load.
- Serviced brakes and route-appropriate spare pads.
- Tires suited to roots, rocks and descents.
- Secure luggage that remains stable on rough ground.
- Extra insulation, a warm hat and gloves.
- A wind-ready shelter and maps with elevation and alternative exits.
- Remote communication and footwear suitable for pushing.
- Snow or ice equipment only when the route and conditions require it.
Plan stages conservatively. A short mountain distance can take longer than a much longer paved stage. Include the time and effort needed to push a loaded bicycle.
5. Bikepacking Camping Checklist for Desert Mountains
Combine water planning with overnight warmth. Arid terrain can be cold, especially at elevation.
- Water capacity for confirmed dry stretches and delays.
- Compatible supports that can carry the added water load.
- Tires and repair supplies suited to rocky, loose surfaces.
- A ventilated shelter with wind protection and rocky-ground anchors.
- A sleep system matched to the nighttime forecast.
- Long lightweight clothing, sunglasses and sun protection.
- Insulating layers, hat and gloves where needed.
- Protection from dust for equipment and dependable navigation.
- Satellite communication and exit options on remote routes.
Include water weight when checking load limits and handling. Do not rely on the word desert to predict temperature. Check local thunderstorm and flash-flood guidance before choosing camps or routes.
6. Desert Valley Bicycle Camping
Here, heat, shade and reliable resupply can determine whether a stage is practical.
- Enough water for the entire dry stage and a delay reserve.
- Current confirmation of any planned water source.
- A ventilated tent with sand anchors.
- A lightweight shade tarp if it can be pitched practically.
- Sun protection and appropriate long clothing.
- Tires suited to the available surface and sand protection for luggage.
- A sleeping system based on nighttime conditions.
- Stage schedules and clear turnaround points.
Riding on soft sand may be impossible with your setup. Do not assume road-distance estimates apply. Avoid washes and low channels when flash flooding is possible, and change the route if carrying sufficient water exceeds a practical load.
7. Arctic Beach Bicycle Camping
An Arctic coast needs expedition planning for a specific destination and season. Ice, soft sand or the absence of permitted trails may prevent bicycle travel altogether.
- A bicycle setup appropriate for confirmed travel surfaces.
- A cold- and wind-ready tent with anchors for the actual ground.
- A cold-weather sleeping bag and highly insulated pads.
- Thermal layers, resting insulation and waterproof outerwear.
- Cold protection for hands, feet and face.
- Dry bags, a cold-capable stove and reliable freshwater arrangements.
- Local tide, ice and coastal weather information.
- Satellite communication and a realistic evacuation plan.
- A destination-specific wildlife protocol, especially in polar-bear habitat.
- Maintenance planning for salt, moisture and freezing.
Consult local authorities or qualified guides. Do not select a camping location only by an ordinary high-tide mark; consider storm flooding, legal sites and escape access.
8. Temperate Beach Bike Camping
Prepare for coastal wind and cool nights even when the afternoon feels warm.
- A wind- and rain-ready tent with sand stakes and guy lines.
- A suitable sleeping bag, insulated pad and warm layer.
- Rainwear and dry bags.
- Verified freshwater supply and adequate carry capacity.
- Tires suited to the access route.
- Sun protection and footwear comfortable for walking.
- Tide information, coastal forecasts and a usable exit route.
- Basic supplies for removing sand and salt from the bicycle.
Check where riding and camping are permitted. Soft beach sand is not a dependable transport surface. Plan tidal crossings with local guidance and identify tsunami evacuation routes where relevant.
9. Tropical Beach Bikepacking
Your tropical bikepacking camping checklist should emphasize ventilation, insects, fresh water and keeping sleep gear dry.
- A ventilated tent with complete insect mesh and a rainfly.
- Sand anchors, secure guy lines and a sleeping pad.
- A light sleeping bag or sleep sheet if nighttime temperatures allow.
- Quick-drying clothing and long coverage where helpful.
- Repellent, sun protection and a helmet-compatible sun solution.
- Light rainwear and waterproof storage.
- Freshwater capacity and treatment appropriate to available sources.
- Route-compatible tires and maintenance supplies.
- Storm alerts, tide information and evacuation planning.
Confirm beach permissions and wildlife restrictions. Do not rely on riding along the shoreline to finish an essential stage. Plan a viable inland or established-road alternative when necessary.
Electric Bicycle Touring: Additional Planning
If using an e-bike, add the compatible charger and confirmed charging locations. Estimate range conservatively with luggage, gradients, surface conditions and cold in mind. Follow battery instructions for charging and storage temperatures.
Plan what happens if assistance becomes unavailable. A loaded e-bike can be difficult to push, and a power bank for phones is not a substitute for its specified charger. Do not build a remote stage around unverified charging access.
Optional Extras and Packing Priorities
A foam seat, small towel, camp shoes, camera, notebook or mirror can be useful. Add a solar charger only when its realistic output and mounting arrangement justify its weight. Avoid unnecessary bulk that worsens handling or exceeds luggage limits.
Put frequently needed items where you can reach them safely while stopped. Distribute the load according to your bicycle and bag system, then test braking, steering and pedaling. Keep water, lighting and emergency equipment accessible.
Frequently Asked Questions
Can I use a backpacking camping kit for bicycle travel?
Much of the shelter and sleep equipment can overlap. Add bicycle-specific luggage, visibility equipment, tools and compatible spares. See our backpacking camping checklist for the walking-focused version.
How much water should I carry?
Calculate needs from the route, weather, exertion, cooking and verified resupply, plus a reserve. There is no single amount suitable for every environment.
Are studded tires necessary for all winter trips?
No. Tire choice depends on the surface and bicycle compatibility. Studs are an option for ice, not a guarantee that deep snow or steep terrain is rideable.
Are the linked products suitable for every destination?
No. Compare the specifications, load limits and ratings needed for your exact route. No product in this guide is endorsed for all nine scenarios.
Final Pre-Trip Check
Inspect brakes, tires, wheels, drivetrain and luggage attachments. Test repairs, pitch the tent and confirm your sleep system. Check route permissions, water sources, weather, wildlife rules and exits.
A useful bikepacking camping checklist combines a reliable bicycle, an appropriate overnight kit and realistic stages. Choose the destination first, then prepare the equipment and skills needed to travel through it.
Leave a Reply
You must be logged in to post a comment.